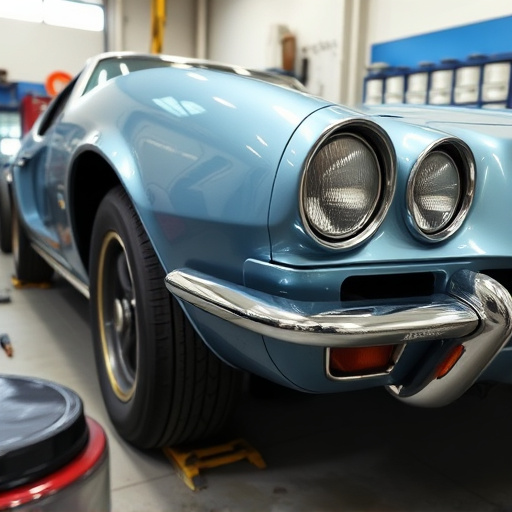


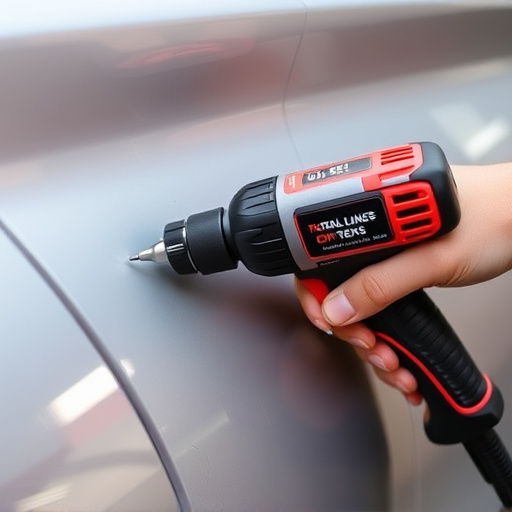
Replacing acoustic glass in Mercedes vehicles requires specialized knowledge and tools due to advanced treatments for noise reduction and cabin comfort. Adhering to Mercedes standards ensures structural integrity and aesthetic appeal through precise cutting, adhesive use, and secure fastening with specific screwdrivers, maintaining the vehicle's intricate design and engineering.
Mercedes acoustic glass replacement is a specialized task that requires precision and the right tools. This comprehensive guide covers everything from understanding the unique requirements of Mercedes vehicles to ensuring a seamless installation process. By arming yourself with the essential tools, you’ll be well-prepared to tackle this job effectively. Follow our step-by-step instructions for a successful and accurate Mercedes acoustic glass replacement.
- Understanding Mercedes Acoustic Glass Requirements
- Essential Tools for Successful Replacement
- Step-by-Step Guide to Seamless Installation
Understanding Mercedes Acoustic Glass Requirements
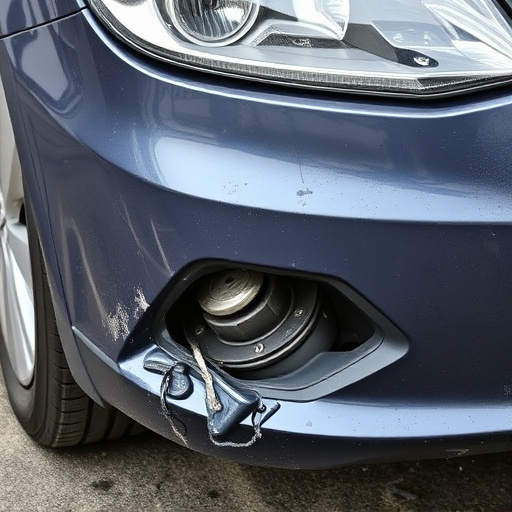
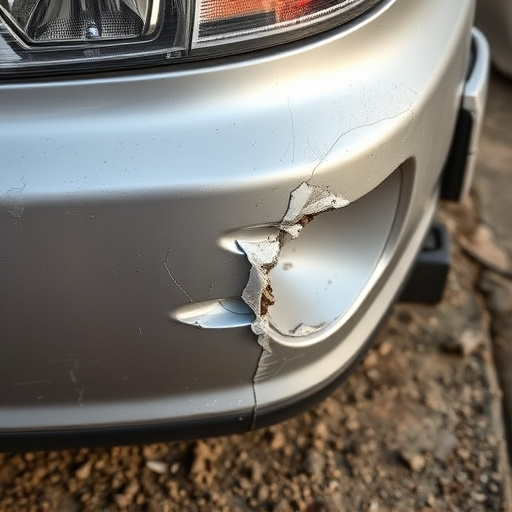
When undertaking Mercedes acoustic glass replacement, a deep understanding of the brand’s specific requirements is paramount. Unlike standard glass replacements, Mercedes models often feature advanced acoustic treatments designed to enhance cabin comfort and reduce noise pollution. These unique features necessitate specialized tools and techniques for accurate installation. Professionals in vehicle repair services, particularly those skilled in auto body repairs, recognize that mere substitution isn’t sufficient; the new glass must seamlessly integrate with existing systems to ensure optimal performance.
Mercedes’ stringent standards demand precision and attention to detail. The process involves more than just swapping out broken glass; it entails aligning with the manufacturer’s specifications for sound insulation and structural integrity. This level of expertise is crucial, especially when considering the intricate design and engineering behind modern vehicles. Auto body repairs that focus on Mercedes acoustic glass replacement thus offer a specialized service, ensuring not only functional but also aesthetically pleasing results.
Essential Tools for Successful Replacement

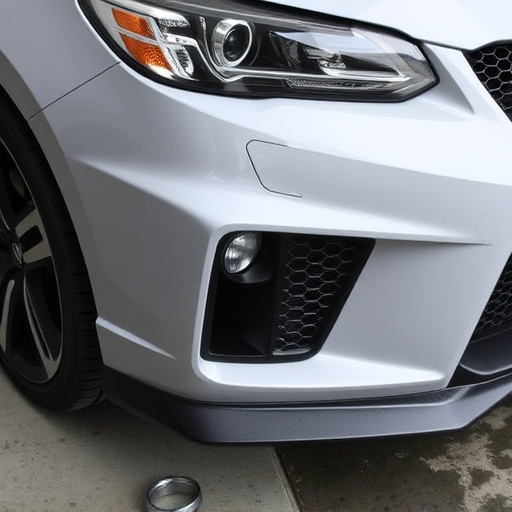
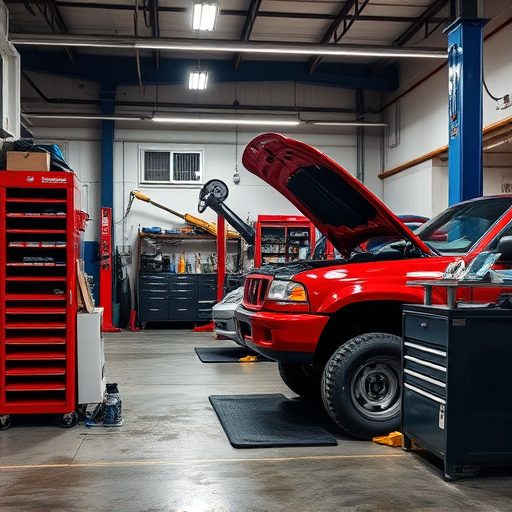
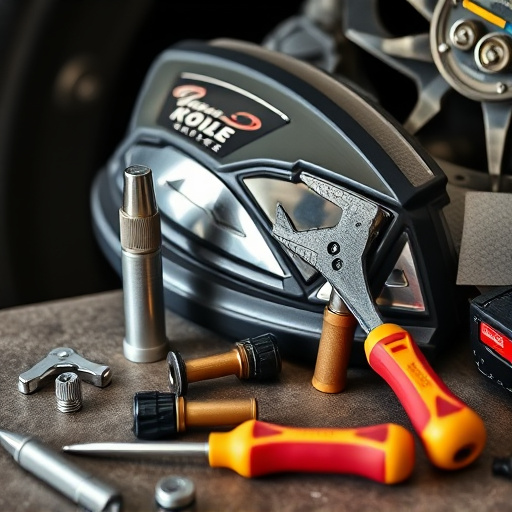
When undertaking a Mercedes acoustic glass replacement, having the right tools is crucial for a successful and efficient job. For this specialized task, several essential items are indispensable. The first priority is acquiring high-quality replacement glass that matches the original specifications precisely. This ensures not just aesthetic harmony but also maintains the vehicle’s structural integrity.
Among the tools required for this process, you’ll need precision cutting equipment to shape and fit the glass perfectly, along with specialized adhesive and sealants designed for automotive applications. A robust set of safety goggles and gloves is non-negotiable, protecting against potential shrapnel and chemical exposure during the repair or replacement. Additionally, a good set of screwdrivers, often specific to car models, ensures secure fastening of the new glass without causing further car damage repair. Efficient use of these tools, combined with expert knowledge, facilitates seamless collision repair services and restores your Mercedes to its original condition.
Step-by-Step Guide to Seamless Installation
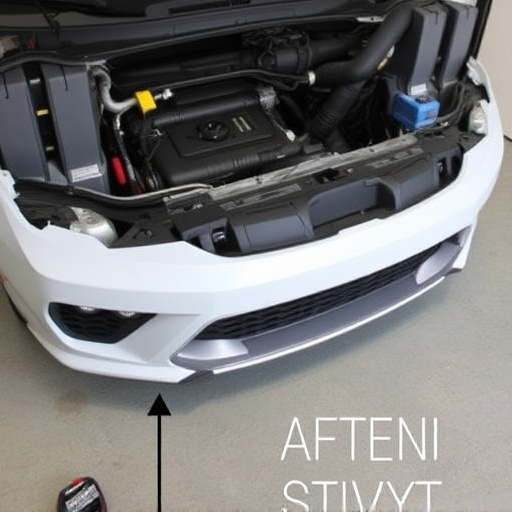
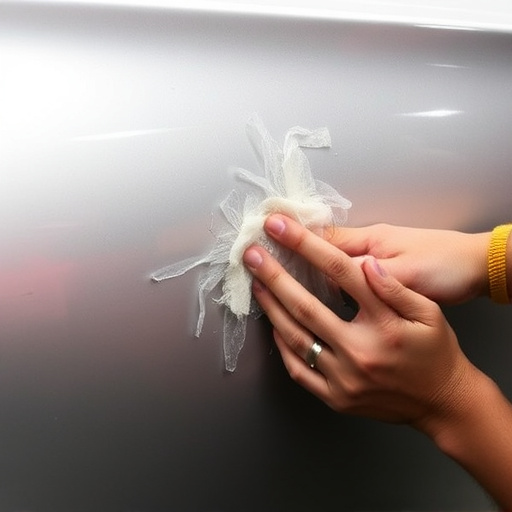
A successful Mercedes acoustic glass replacement involves a meticulous process that requires both precision and expertise. Begin by gathering all necessary tools, including specialized glasses, adhesives, and protective gear. The preparation phase is crucial; ensure the car’s surface is clean and free from any debris or contaminants to achieve a seamless finish.
Follow these steps for a smooth installation: first, carefully remove the damaged glass, taking note of its orientation. Next, apply the adhesive along the edge of the new glass, ensuring it aligns perfectly with the vehicle’s frame. Use clamps to secure the glass in place while the adhesive sets, typically within the recommended time frame by the manufacturer. For best results, consider using a heat gun to speed up the curing process, but be cautious to avoid damage. Once cured, trim any excess adhesive and inspect for gaps or irregularities, ensuring a flawless fit that enhances both functionality and aesthetics in your Mercedes acoustic glass replacement.
Mercedes acoustic glass replacement is a specialized task that requires precise tools and expertise. By understanding the specific needs of Mercedes vehicles and equipping yourself with the essential tools, you can successfully replace acoustic glass, ensuring a quieter, more comfortable driving experience for your clients. Following the step-by-step guide will help make this process as seamless as possible, allowing you to deliver high-quality work that meets Mercedes standards.